Microsoft Office automatically stores your personal information whenever you create or modify a document.
Most of us use documents for personal use, so we are concerned with privacy. However, if you plan to share a file with someone you do not know, you may want to remove the personal information stored in your Excel Workbook.
Lucky for you, removing your personal information from an Excel Workbook is easy.
Just follow the steps below:
Removing Your Personal Information from an Excel File
With your Excel workbook open, navigate to File > Info
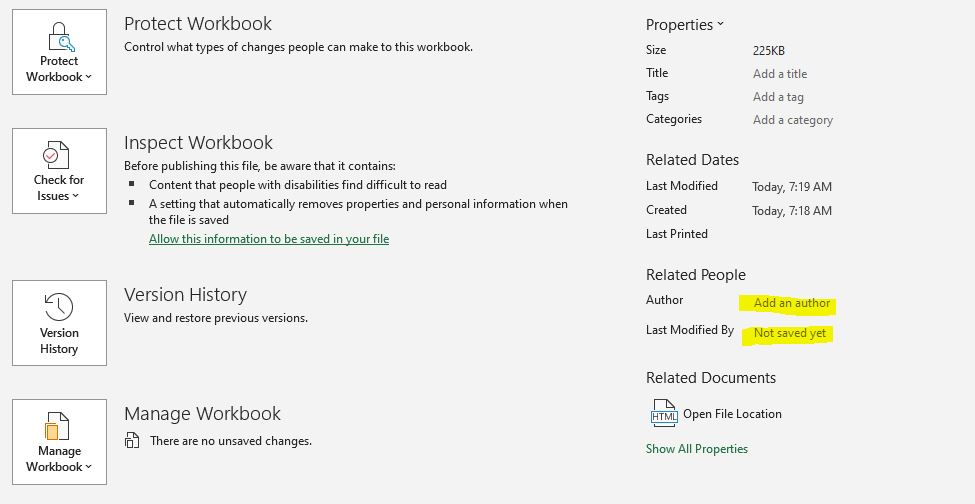
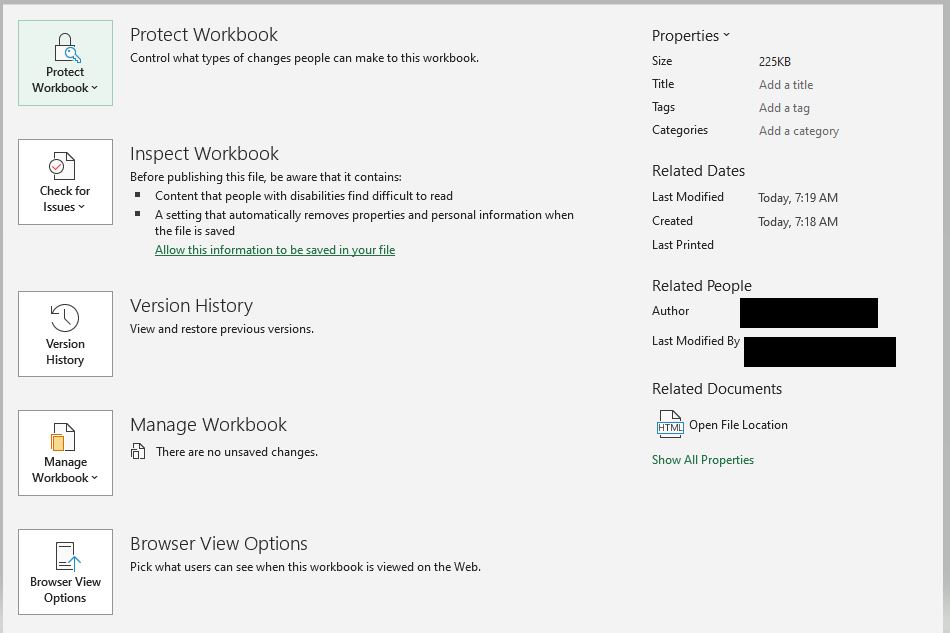
In the info menu, you will notice that your name will appear as either the Author or Last Modified By or both. Your name is the most obvious information that is shared. However, there is other hidden information that you may want to remove as well.
Check for Issues
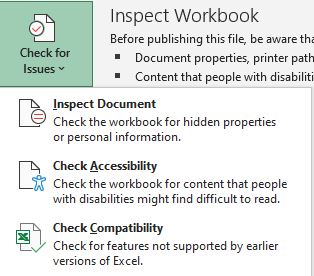
With the info panel still open, you should click the Check for Issues option on the panel. In this panel, you will choose the “Inspect Document” option.
After clicking Inspect Document, you may see a prompt to save your file. Click Yes to save your file.
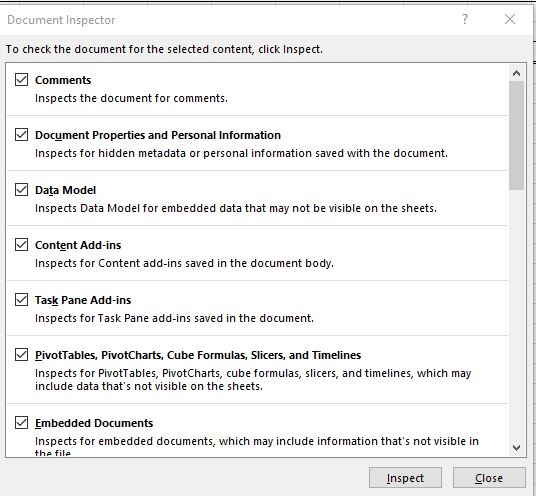
The Document Inspector will appear after this step. The Document Inspector will list the available areas you can inspect for private information. In this panel all options are checked by default. There is no harm in inspecting everything so I suggest leaving all options checked.
Inspect the Document
Click the Inspect button at the bottom right of the panel.
After you have inspected the document, view the information found.
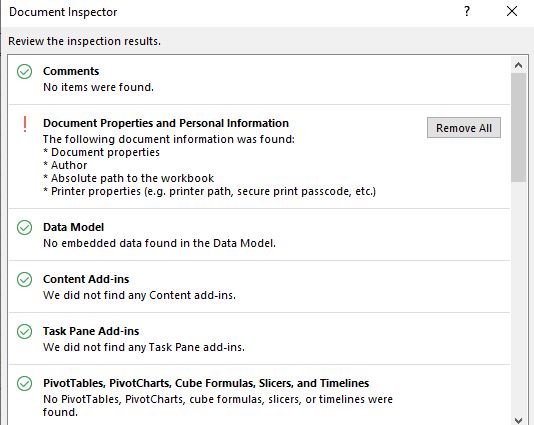
Click the Remove All button next to each item you want to remove. You will get a confirmation after this step is complete.
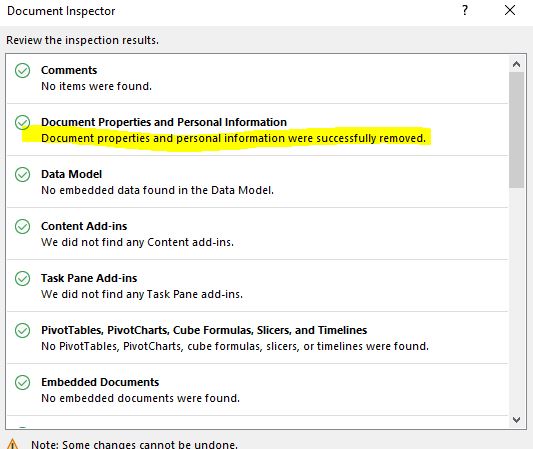
Verify Removal of Personal Information
You can double-check that your information was indeed removed by clicking the Inspect button again.
You can now share your document with peace of mind.
